We have previously shared how to create targeting conditions that are dynamic and only include a visitor when they perform certain actions. That method requires updating the Global JS (Global Project JavaScript) of Convert. There is a small challenge from a maintainability perspective.
For example, if you are running 100s of experiments, maintaining all those conditions withing Global JS might cause some unforeseen issues. This has pushed us to come up with a different approach. Utilizing the JS Audience creation, that will do the same thing, without having to touch the Global JS Convert script.
Here's a step-by-step guide on how to create a custom trigger audience using JavaScript conditions.
Steps to Create a Custom Trigger Audience
1. Create a New Audience
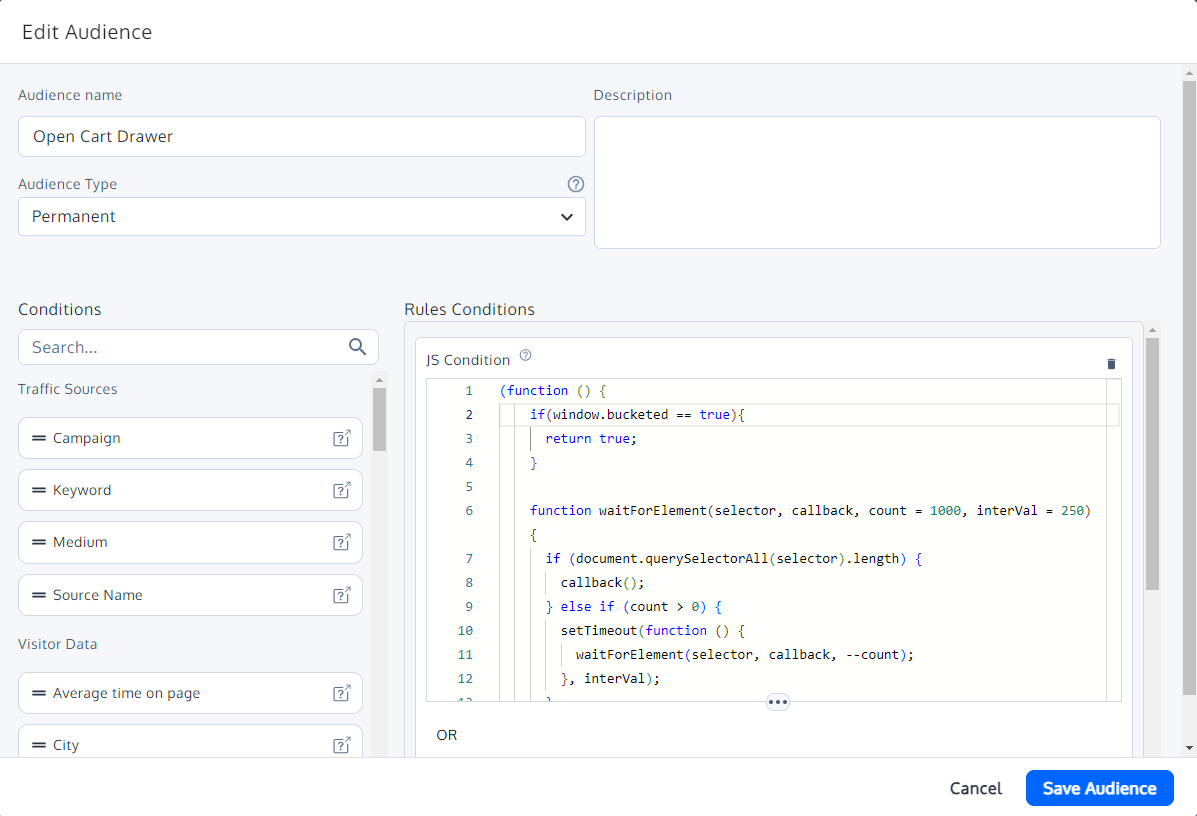
Go to your Convert dashboard and create a new audience. Name it something descriptive like "Open Cart Drawer".
2. Add a JavaScript Condition
Drag and drop the JavaScript condition component into the audience rules conditions.
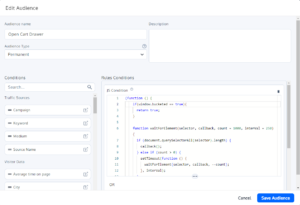
Here is an example for how the Audience setup should look like:

3. Write a Self-Calling Function
Within the JavaScript condition, you'll need to write a function that defines your custom logic.
Here’s a sample code snippet to get you started:
(function () {
  if (window.bucketed === true) {
    return true;
  }
 function waitForElement(selector, callback, count = 1000, interval = 250) {
    if (document.querySelector(selector)) {
      callback();
    } else if (count > 0) {
      setTimeout(function () {
        waitForElement(selector, callback, count - 1, interval);
      }, interval);
    }
  }
  waitForElement('body', function () {
    document.body.addEventListener('click', function (e) {
      if (e.target.closest('.button-selector')) {
        if (window.bucketed !== true) {
          window.bucketed = true;
          window._conv_q = window._conv_q || [];
          window._conv_q.push(["executeExperiment", "experimentID"]);
        }
      }
    });
  });
})();
Explanation
Initial Condition Check
When the page loads, the script checks if ‘window.bucketed’ is ‘true’. Since it is initially ‘undefined’, the condition fails, and the user is not included in the experiment.
Waiting for Element and Adding Event Listener
- The ‘waitForElement’ function waits for the entire document body to load and then adds an event listener to it.
- This listener checks for a click on an element matching the selector ‘.button-selector’.
Triggering the Experiment
- When the specified element ‘.button-selector’ is clicked, ‘window.bucketed’ is set to ‘true’, and the custom experiment trigger snippet is executed.
- This Custom Experiment Trigger snippet will recheck the entire experiment again, including the "Locations" and "Audiences".
- While rechecking the "Audiences", it will find that ‘window.bucketed’ is true and will then bucket the user into the experiment.
Implementation Tips
- Custom Variables: Customize the variable ‘window.bucketed’ and the event listener selector (‘.button-selector’) based on your specific use case.
- Experiment ID: Replace "experimentID" with the actual ID of your experiment.
- Event Listeners: You can add different event listeners or conditions as needed to fit your specific audience criteria.
Conclusion
By using custom JavaScript conditions, you can create highly specific and dynamic audience segments in Convert. This approach ensures that your experiments are triggered only for users who meet your precise conditions, allowing for more accurate and relevant testing.
Special thanks to Tansen and Shakil, two of our Solutions Engineers, for their expertise and insights in shaping the content and ensuring its accuracy.


